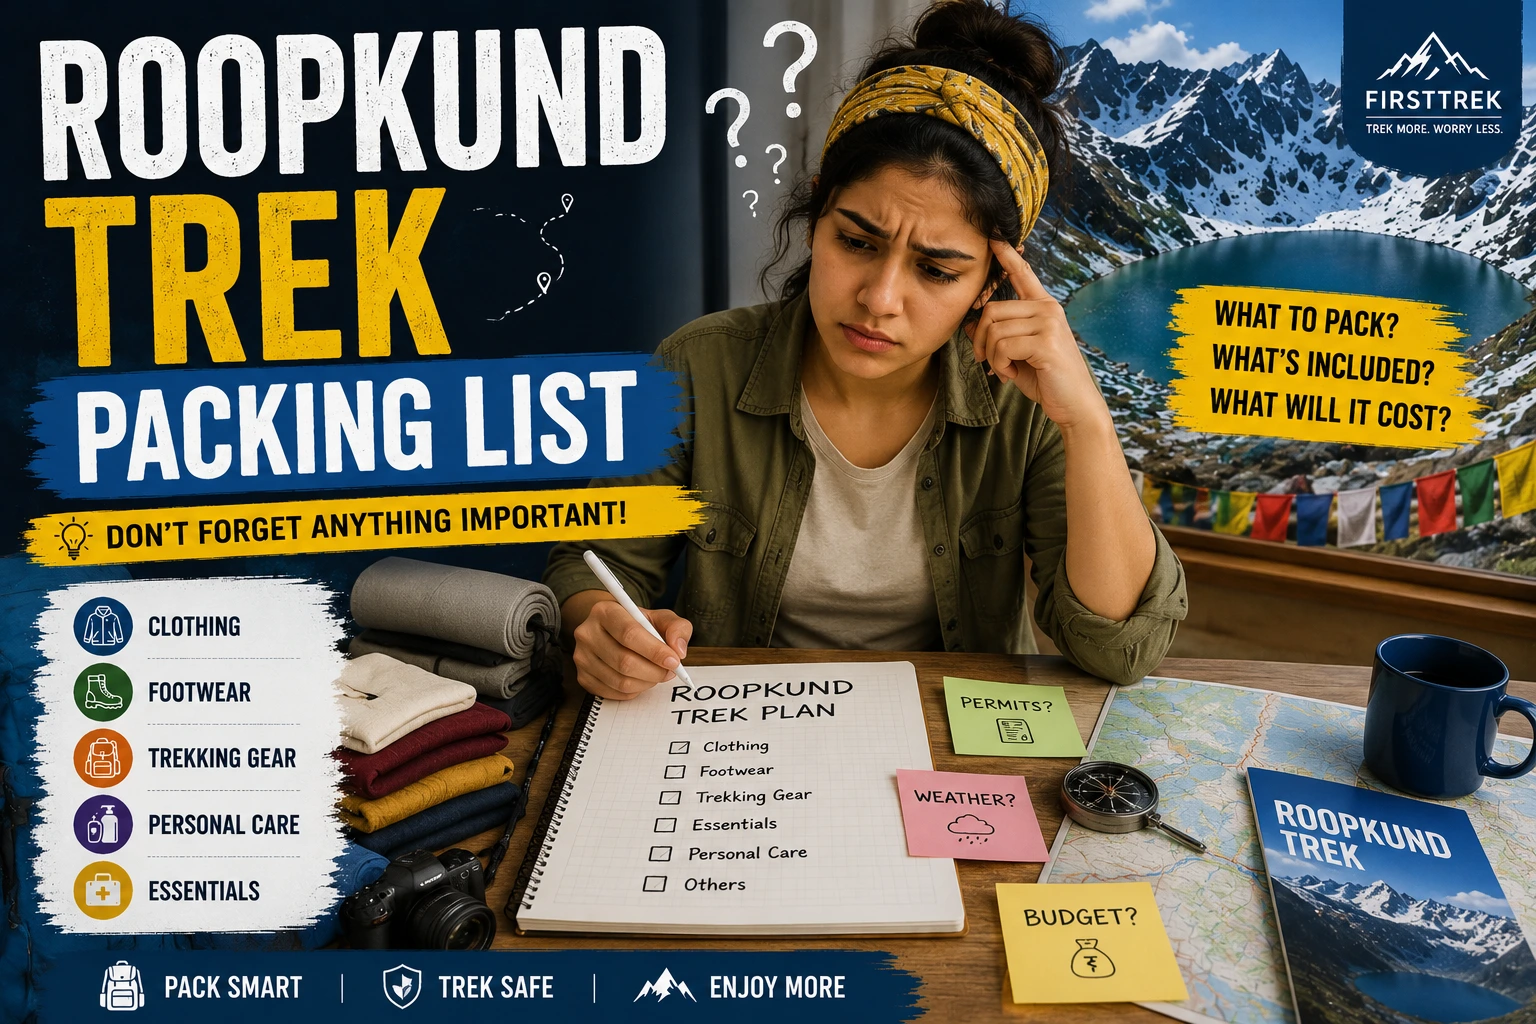
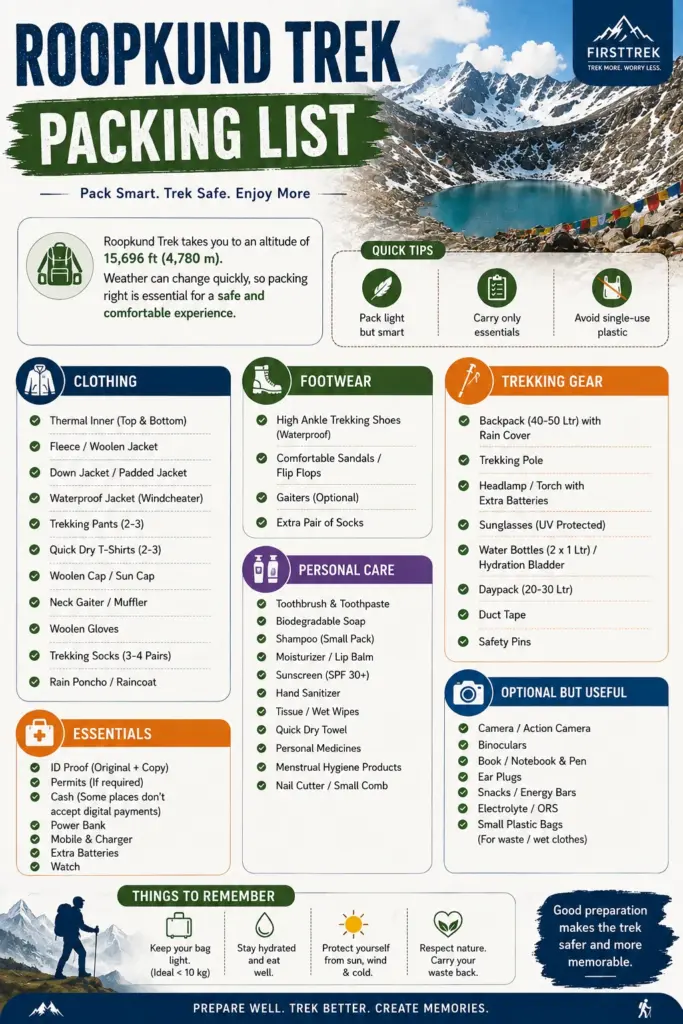
Packing for Roopkund is less about bringing a lot of gear and more about bringing the right layers for a trek that swings from warm river valley to sub-zero, wind-exposed high camp within a week. Here’s the complete list, organized the way we’d actually pack it.
Clothing & footwear
- Trekking shoes: Broken-in trekking shoes with ankle support — never wear brand-new shoes on trek day, break them in on training walks first.
- Layering system: 4–5 layers total: a thermal base layer, a fleece mid-layer, an insulated or down jacket, and a windproof outer shell.
- Lower body: Trek pants (2–3 pairs, quick-dry preferred), thermal bottoms for cold nights.
- Headwear & gloves: Woolen cap, a balaclava for summit day, and two pairs of gloves — a fleece inner pair and a waterproof outer pair.
- Eye protection: UV-protection sunglasses or snow goggles — snow glare above Bhagwabasa is genuinely intense.
- Socks & camp footwear: 3–4 pairs of trekking socks, 1–2 pairs of thick woolen socks for camp, and a separate pair of camp shoes or sandals to rest your feet in the evening.
Please check this: Rookund Trek Package Details
You might be interested in these treks
Roopkund Trek
₹15,500
Hampta Pass Trek
₹7,500
Ranthan Kharak Trek
₹9,500
Kagbhusandi Lake Trek
₹29,500
Bhrigu Lake Trek
₹8,599
Trekking gear
- Trekking poles: Genuinely useful, not optional, especially for Day 7’s long descent — protects your knees on 15 km of downhill.
- Daypack: 20–30L for what you carry during the day (water, snacks, extra layer, camera).
- Duffel bag (50–60L): For the porter/mule to carry your main gear between camps.
- Headlamp: With spare batteries — essential for early starts and any movement around camp after dark.
- Poncho/rain cover: Or a rain cover for your backpack — worth carrying even outside monsoon season.
Personal & camp essentials
- Water bottle or hydration bladder: 2L capacity minimum — hydration matters more at altitude than most people expect.
- Sun & skin protection: SPF 40+ sunscreen, lip balm with SPF, and a basic personal med kit including any prescription medication.
- Snacks: High-energy options — nuts, energy bars, electrolyte sachets — for the longer trekking days.
- Dry bags: A few large zip-lock or dry bags to keep electronics and spare clothing dry.
- Valid photo ID: Aadhaar, passport or driving licence — required at the forest check-post for your permit.
Test your gear before you leave, not on the trail
Every major item on this list should be tested at least once before departure, not unwrapped for the first time at Lohajung. Wear your trekking shoes on two or three training walks to break them in and catch any fit issues while you can still exchange them. Sleep in your rented or owned sleeping bag liner for a night if you can, so you know how warm it actually feels. Set up your headlamp and check the batteries. Small gear failures — a stiff new boot, a headlamp with dead batteries — are minor annoyances at home and genuine problems at 14,000 feet in the dark.
How to actually pack your duffel and daypack
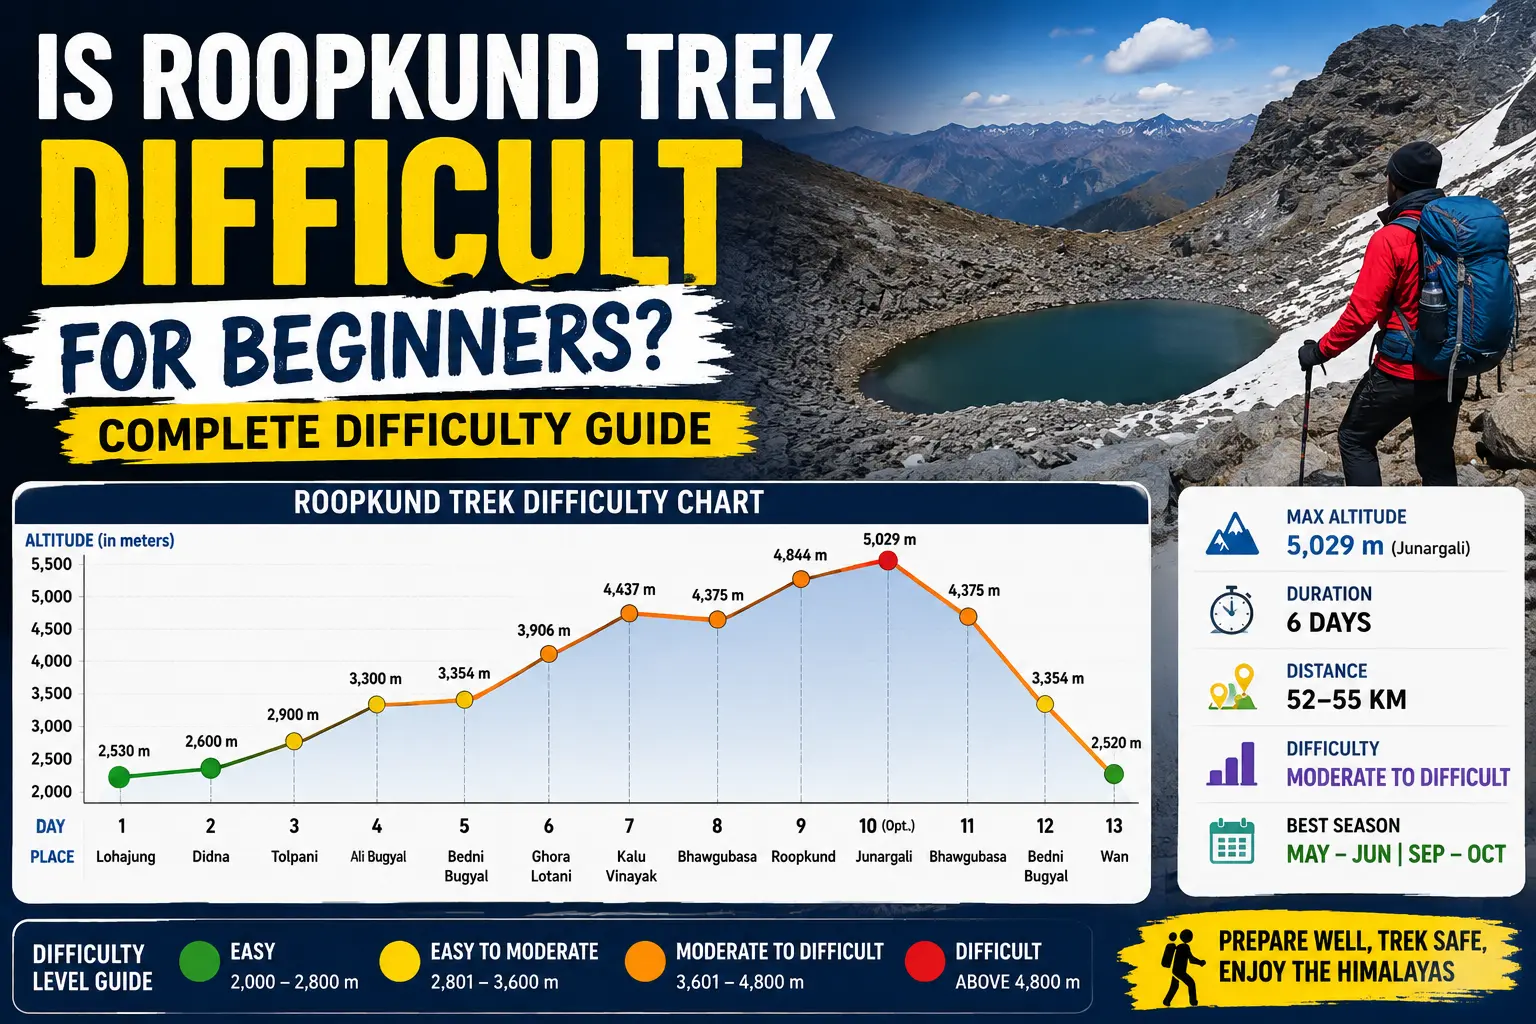
Your duffel bag, carried by porter or mule between camps, should hold everything you won’t need until you reach the next campsite — your sleeping layers, spare clothing, and anything you’re not using during the day’s walk. Your daypack, which you carry yourself, should hold only what you need on the trail: water, snacks, sunscreen, your extra mid-layer in case the weather turns, a rain cover, and your camera or phone. A common mistake is overloading the daypack with items that belong in the duffel — you’ll feel every extra kilogram on Day 3 and Day 6, the two toughest days on the itinerary.
Documents and a few things people forget
- Valid photo ID: Required at the forest check-post — carry the original, not just a photo on your phone, since network coverage to verify a digital copy isn’t reliable past Lohajung.
- Batteries and power bank: 2–3 spare sets for your headlamp, and a power bank if you’re carrying a phone or camera you want charged through the week — there’s no mains power once you leave Lohajung.
- Personal prescription medication: If you take any regularly, carry enough for the full 8 days plus a couple of spare days as a buffer, along with a copy of the prescription.
- Something for downtime at camp: A small notebook, a paperback, or simply time — evenings at camp after dinner have very little to do by design, and that’s part of the appeal for a lot of trekkers.
If Roopkund is a one-off trek for you rather than the start of a regular trekking habit, it’s genuinely fine to rent the big-ticket items — a good down jacket, sleeping bag liner, and trekking poles are all commonly available on rent in Rishikesh, usually for a fraction of the purchase price. What we wouldn’t recommend renting: trekking shoes (fit matters too much, and rented shoes are a common cause of blisters) and base-layer thermals (a hygiene and comfort issue more than a cost one). Buy those; rent the rest if budget is a factor.
You might be interested in these yatras

Common packing mistakes
- New shoes straight out of the box: The single most common cause of a miserable trek. Break in your shoes on at least 3–4 training walks before departure.
- Packing one heavy jacket instead of layers: One heavy jacket doesn’t adapt the way a layering system does — you’ll either overheat on the lower forested days or freeze at Bhagwabasa.
- Skipping sunglasses/goggles: Snow glare above Bhagwabasa is intense enough to cause genuine eye strain and headaches without proper eye protection.
- Overpacking cotton clothing: Cotton holds moisture and dries slowly at altitude — stick to synthetic or merino wool base layers instead.
A last piece of advice: pack a day or two before you need to leave, not the night before. Laying everything out against this checklist with time to spare is what catches the gap — the missing headlamp batteries, the sunscreen still in last summer’s beach bag — before it becomes a problem at 7,600 feet with no shop nearby. If you’re unsure whether something belongs on the list, the honest test is simple: would you genuinely regret not having it at 14,000 feet in the cold and dark. If yes, pack it.
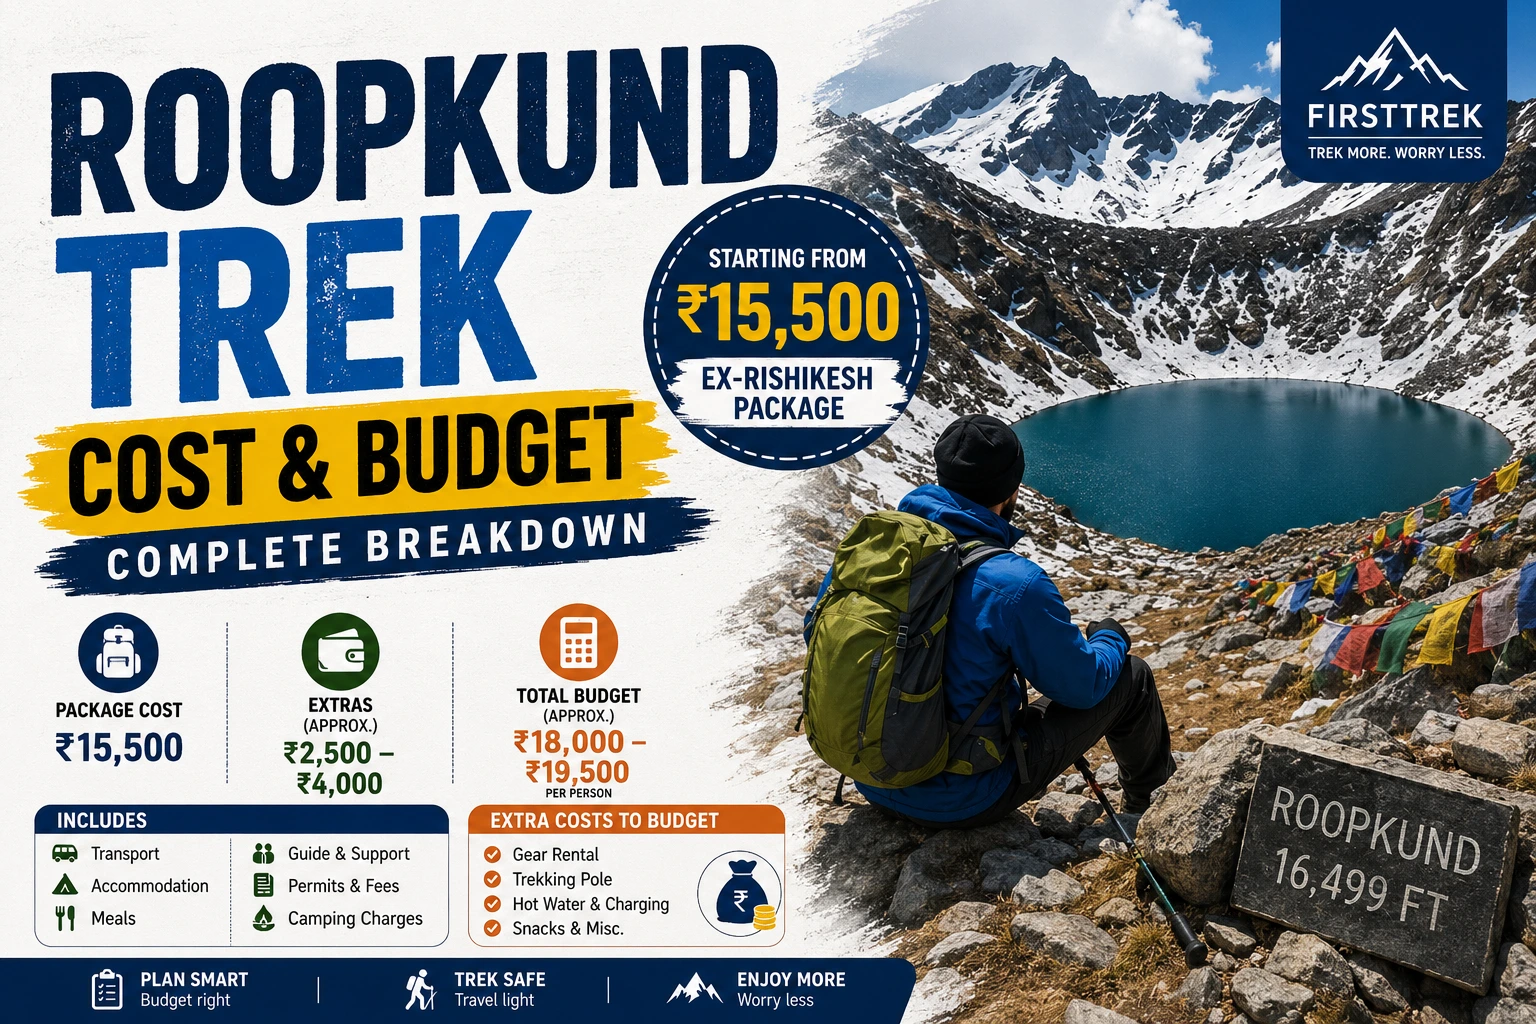
Check the Cost & Budget guide too
As everyone go on a trip according to their budget here is a detailed information of budget → see our Roopkund Trek Cost & Budget Guide, or check the full Roopkund trek itinerary